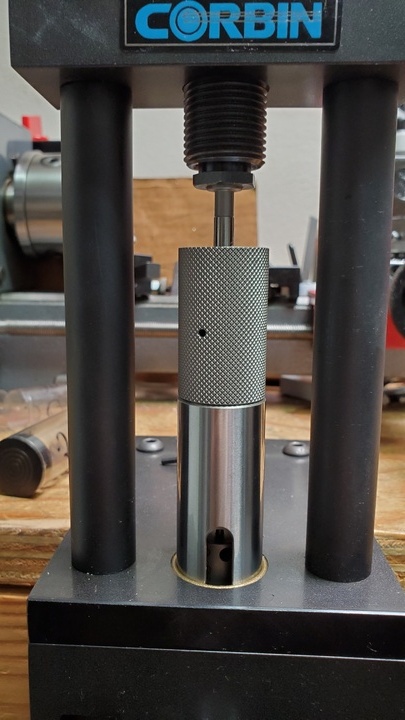
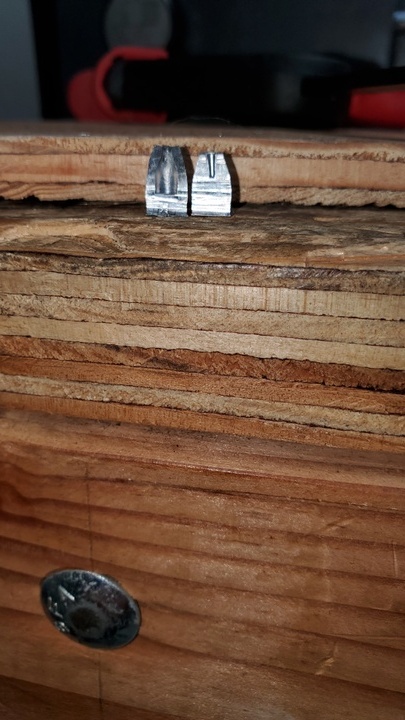
Its time I get on the slug band wagon! I've always been pellet guy, just love them. But seeing the accuracy potential I have got to try it. Being a Prototype shop owner I tend to make what ever I can so I'm happy with the quality of it. I'm starting with an RCBS Rebel press and making the modifications to convert it to a swaging press. And its made in the USA!
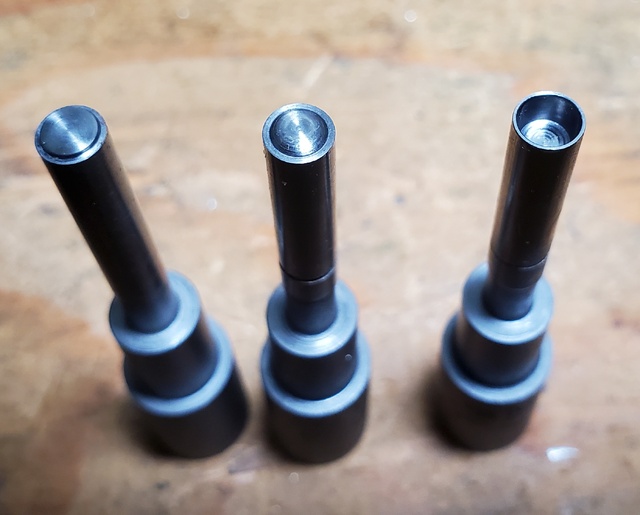
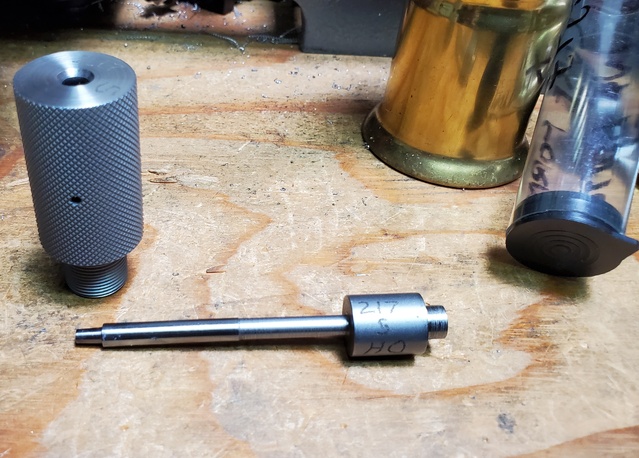
First thing is to modify the leverage ratio by moving the two pivot pins on the lever knuckle closer. This press is heavy duty and can easily handle swaging. Then I slot the Ram shaft so it will have a place for the ejector pin to bottom out against. Then thread the end for a die to connect too and bore the ejector pin hole in the end. Next up I'll make the dies!


First thing is to modify the leverage ratio by moving the two pivot pins on the lever knuckle closer. This press is heavy duty and can easily handle swaging. Then I slot the Ram shaft so it will have a place for the ejector pin to bottom out against. Then thread the end for a die to connect too and bore the ejector pin hole in the end. Next up I'll make the dies!