GX-CS2 Compressor Water Filter Change

Greetings.
I am in arrears when it comes to changing my water filters for the GX-CS2. Thankfully, I do not shoot a lot so I have not run it a lot. The manual is of no help, and I have just watched several YouTube videos but none of them gave me an start to finish tutorial, or they pointed to something that looked different than my unit. I admit I need to be instructed from the start: Where are all the filters (I think I know where two of them are), how do you change them (I am sure this part is easy), and is the water catching system of this compressor sufficient to keep guns dry and safe. I appreciate any help, and pictures don't hurt me.
I know one filter is in the black handle, one is in the head of the hose, I believe, but I want to make sure I don't mess anything up. One guy on YouTube put silica sand in the handle filter. I always appreciate the knowledge and experience on this Forum. Those of you who know me understand that I am tentative about tacking certain mechanical situations (at the risk of sounding under-gunned here, which I am. )
Thanks in advance. S7
 
Last edited:
I don't think those are water filters.

The one in the handle is just a basic air filter. It filters-out large particles and things that could cause trouble if it made its way into the compressor, or your airgun.

I think there are some CS2's that come with a tiny filter in the hose but most do not -- as pictured.

Screenshot from 2024-03-09 22-22-42.png


If your unit has a little black football-shaped thing at the end of the hose, you probably do have a small filter. You just unscrew that unit, and take the filter material out. It's not a very substantial filter.

The main water-collecting feature on the hose is just the water that condenses out of the pump. After filling for a while, the line will become filled with water. The little black knob at the bottom of the picture releases that water.
 
It is getting late on the East Coast, and I am letting this go for the moment. I did catch another, decent video that did try to cover filters, but the guy himself did not have everything figured out. I went to my unit after the video and figured out a thing or two he did not.

delooper, I copy on the air filter in the handle; that makes sense. I don’t think I have that “football shaped thing.”
There is also a filter in a two-piece black cylindrical something or other, but I never attached it to the unit and do not presently know how.
I am attaching three pictures of the black two-piece screw-in cylinder and one of my attachment. Mind you, I had to screw in a non-factory adapter to fit my crown’s nipple, hence the extra length.

Thanks a lot.
S7

IMG_2121.jpeg


IMG_2119.jpeg


IMG_2120.jpeg


IMG_2122.jpeg
 
It is getting late on the East Coast, and I am letting this go for the moment. I did catch another, decent video that did try to cover filters, but the guy himself did not have everything figured out. I went to my unit after the video and figured out a thing or two he did not.

delooper, I copy on the air filter in the handle; that makes sense. I don’t think I have that “football shaped thing.”
There is also a filter in a two-piece black cylindrical something or other, but I never attached it to the unit and do not presently know how.
I am attaching three pictures of the black two-piece screw-in cylinder and one of my attachment. Mind you, I had to screw in a non-factory adapter to fit my crown’s nipple, hence the extra length.

Thanks a lot.
S
View attachment 444233
Yeah, that's the filter. You install that on the end of your hose.


So if I understand your GX pump correctly, you have no moisture filter at all, presently-installed.

IMO it would probably make sense for you to get one. That little unit you have (uninstalled) will only help a little bit.
 
Yeah, that's the filter. You install that on the end of your hose.


So if I understand your GX pump correctly, you have no moisture filter at all, presently-installed.

IMO it would probably make sense for you to get one. That little unit you have (uninstalled) will only help a little bit.
Okay. I will have to address this right away. I hope I didn’t mess up anything. Thanks a lot. S7
 
Okay. I will have to address this right away. I hope I didn’t mess up anything. Thanks a lot. S7
If you live in the middle of the Atacama desert, you'll be okay. Otherwise you've probably been putting some moisture into your airgun. Might want to open it up and inspect.

A good moisture filter doesn't cost an enormous amount. You can find ones that ship straight from China on e-bay.
 
  • Like
Reactions: Sanctify7
Okay, so I need an additional moisture filter.
But for the moment, I would like to know the exact amount of filters on this compressor, and also how to install the ‘in-line filter,’ if that is what the black cylinder is. To let you folks know, I have watched additional videos, even one where the guy takes the compressor apart and puts it back together, but no one, as far as I can tell, actually shows how to attach the in-line filter or the one that goes in that block on the fill whip, if that is what it is called. This is a bit exacerbating because all I needed (from YouTube) was a simple A, B, C, and things would be in order. This stuff is not my forte, obviously, but I can follow directions that are not assuming a knowledge of motors, etc., that I do not have.
Thanks. S7
 
The YouTube channel with the extensive video of this compressor is Target Forge. The guy has a site, too, where he sells this and that having to do with the compressor.

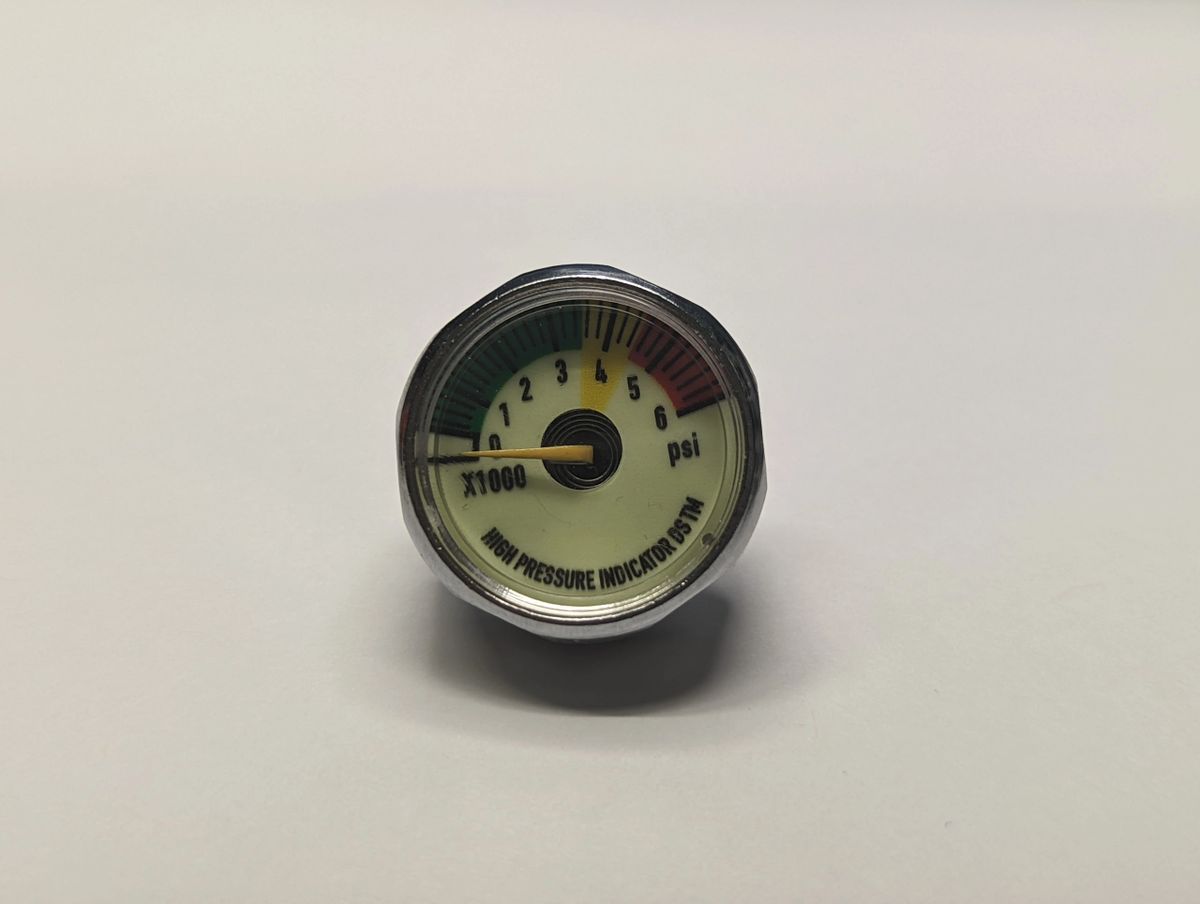
I am not sure whether to place the next comment here or in a discrete thread, but I will put it here. Does anyone have experience with the GX-CS3 or CS4? They are more expensive but do seem to be bonafide improvements. I am checking them out. At a minimum the CS3 gets rid of that block at the end of the fill whip/hose and places the gauge on the unit; additionally, I think the newer units measure in PSI and not mega pascals, which is a helpful convenience.
Also, there is the relatively new Air Venturi RovAir compressor for $499.99.
Were I buying now, I would get either the CS3 or CS4--the latter which requires water to cool, I believe, while the CS2 and CS3 do not--or the RovAir.

Not that others do not care about it, but with my self-confessed modest abilities, my biggest attraction to a compressor besides price, efficiency, and durability, is simplicity. And lots of compressors today are not hard to use, so I get that.

Finally, when I bought the compressor I soon found out the female head did not attach to either the Marauder or the Crown. I started a thread for assistance and got it; I needed another piece to transition things. I mentioned this previously in this thread. So, if buying again, I would also want a head that fit what are to me the standard size nipples on guns, at least the two kinds I have owned.

Any opinions here?

Thanks.
S7
 
Last edited:
There is a small one in the block where your gauge is.

Remove it if you're adding or using the black filter. It will cause problems as many forget about it and it gets plugged up.

View attachment 444409
Thank you. I will see what is what as I proceed. One more thing: Is taking the gauge off a straightforward procedure? Just take it off and put it back on? While here, I will likely purchase the PSI gauge that Target Forge offers for $10.00.


S7
Edit: I now realize I made an assumption. What needs to be removed from the block to address the filter?
 
Last edited:
I don’t have a GX but everything I’ve read or seen on that style compressor there’s an intake filter and then on the output side there’s a condensate drain, which is the black knob that you open briefly every 5-10 minutes to drain the liquid water that has accumulated.
From your photo that shows that black cylindrical piece, it’s my guess that the intention is to unscrew the line that connects to the aluminum block that has the gauge and extended female Foster and then the black filter screws into the aluminum block and then the hose screws into the other end of the filter.
That black filter, I’m fairly certain just has what’s often called a cigarette filter in it. It will absorb water rather quickly and perhaps be changed or dried after each pumping session.
A lot of airgunners upgrade to a better filter drier that uses silica beads that absorb moisture or a media called a molecular sieve, which is superior to the silica beads. It’s your choice as to the method you use.
The attached photo and link is a popular molecular sieve amongst airgunners (there are others too).


IMG_2195.png
 
The YouTube channel with the extensive video of this compressor is Target Forge. The guy has a site, too, where he sells this and that having to do with the compressor.

I am not sure whether to place the next comment here or in a discrete thread, but I will put it here. Does anyone have experience with the GX-CS3 or CS4? They are more expensive but do seem to be bonafide improvements. I am checking them out. At a minimum the CS3 gets rid of that block at the end of the fill whip/hose and places the gauge on the unit; additionally, I think the newer units measure in PSI and not mega pascals, which is a helpful convenience.
Also, there is the relatively new Air Venturi RovAir compressor for $499.99.
Were I buying now, I would get either the CS3 or CS4--the latter which requires water to cool, I believe, while the CS2 and CS3 do not--or the RovAir.

Not that others do not care it, but with my self-confessed modest abilities, my biggest attraction to a compressor besides price, efficiency, and durability, is simplicity. And lots of compressors today are not hard to use, so I get that.

Finally, when I bought the compressor I soon found out the female head did not attach to either the Marauder or the Crown. I started a thread for assistance and got it; I needed another piece to transition things. I mentioned this previously in this thread. So, if buying again, I would also want a head that fit what are to me the standard size nipples on guns, at least the two kinds I have owned.

Any opinions here?

Thanks.
S7
Your issue with the connection to your guns is one I too have experienced. There are “wiality” Foster quick connects and “crappy” Foster quick connects. It would appear the original manufacture of Foster quick connect does not share their drawings which has the all important tolerances to allow for males and females to properly mate every time. I was just trying several of my male and females and found a male that would not mate with any of the females, I’m guessing it was oversize. Buying quality Fosters is a good way to assure proper mating.
 
Your issue with the connection to your guns is one I too have experienced. There are “wiality” Foster quick connects and “crappy” Foster quick connects. It would appear the original manufacture of Foster quick connect does not share their drawings which has the all important tolerances to allow for males and females to properly mate every time. I was just trying several of my male and females and found a male that would not mate with any of the females, I’m guessing it was oversize. Buying quality Fosters is a good way to assure proper mating.
Helpful. Thanks. S7
 
I don’t have a GX but everything I’ve read or seen on that style compressor there’s an intake filter and then on the output side there’s a condensate drain, which is the black knob that you open briefly every 5-10 minutes to drain the liquid water that has accumulated.
From your photo that shows that black cylindrical piece, it’s my guess that the intention is to unscrew the line that connects to the aluminum block that has the gauge and extended female Foster and then the black filter screws into the aluminum block and then the hose screws into the other end of the filter.
That black filter, I’m fairly certain just has what’s often called a cigarette filter in it. It will absorb water rather quickly and perhaps be changed or dried after each pumping session.
A lot of airgunners upgrade to a better filter drier that uses silica beads that absorb moisture or a media called a molecular sieve, which is superior to the silica beads. It’s your choice as to the method you use.
The attached photo and link is a popular molecular sieve amongst airgunners (there are others too).


View attachment 444422
Thanks for this. I am emboldened to give things a try. I have also checked out the two filters you linked me to. I will try the cigarette (yes, there is a cigarette filter in the black cylindrical piece) filter for the present, stay on it, and be thinking about an upgrade to a better filter. And yes, there is an intake filter in the handle (which seems quite clean, as seems common in normal circumstances) and, of course, the release valve, which I do always use. S7
 
Thanks for this. I am emboldened to give things a try. I have also checked out the two filters you linked me to. I will try the cigarette (yes, there is a cigarette filter in the black cylindrical piece) filter for the present, stay on it, and be thinking about an upgrade to a better filter. And yes, there is an intake filter in the handle (which seems quite clean, as seems common in normal circumstances) and, of course, the release valve, which I do always use. S7
Good deal. Be dilligent about opening up the black filter to dry out the cylindrical white filter as it will retain water and then pass it through to your gun if you don’t let it dry, or maybe better, replace it. Order a bunch of them to have on hand. It’s cheap insurance.
 
I have now removed the three connections to the aluminum block. There was no small cigarette filter visible. Two connections have been put back, the gauge and the hose. The third one, which is the brass screw with the two small holes in the head on opposite sides, must be the pressure safety release, or whatever it is called. Now no less than three very thin metallic discs were inside this connection. Going back to that scanty manual, I confirmed that they are burst discs, as I figured. I assume they lay flat in the space, and then the piece gets refitted, correct? I am not putting the nut back on until I am sure of their proper placement.

Update: Before I let this post stand, I watched a quick and helpful YouTube video on replacing discs. It is simple. The lingering question I have is the guy in the video says to place one disc back (yes, flat, as seemed logical). Why did three of them come out of my fitting?

Thanks. S7
 
Good deal. Be dilligent about opening up the black filter to dry out the cylindrical white filter as it will retain water and then pass it through to your gun if you don’t let it dry, or maybe better, replace it. Order a bunch of them to have on hand. It’s cheap insurance.
Will do, rcs9250. I appreciate the help. S7