Homemade PCP receiver

You discussed an electronic hammer. I’ve done a few builds with electronic hammers and settled on a circuit configuration that I now use on all of them. I use solenoids from Circuit City (Magnetic Sensor Systems). My circuit design is shown below and a link to the solenoid that I prefer:
SOTUH02305106P - -S-20-90-22H

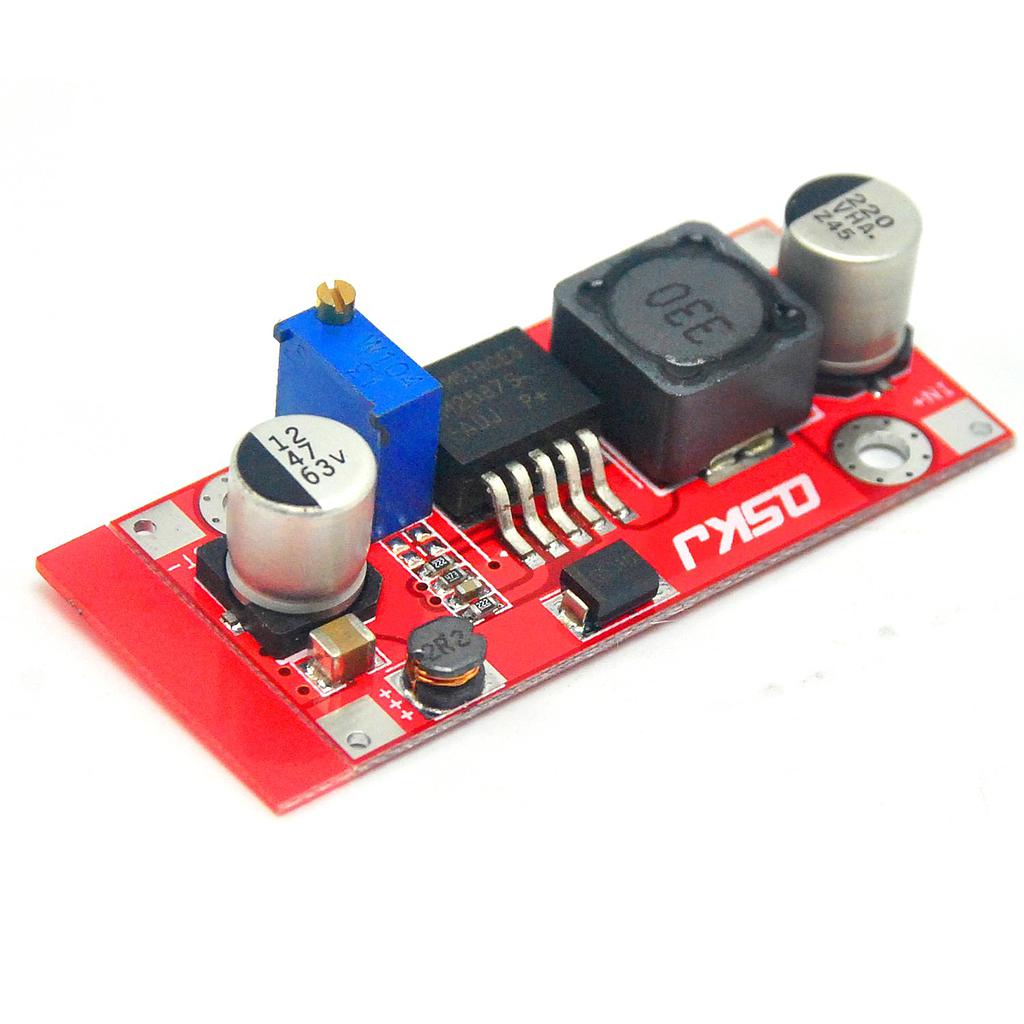
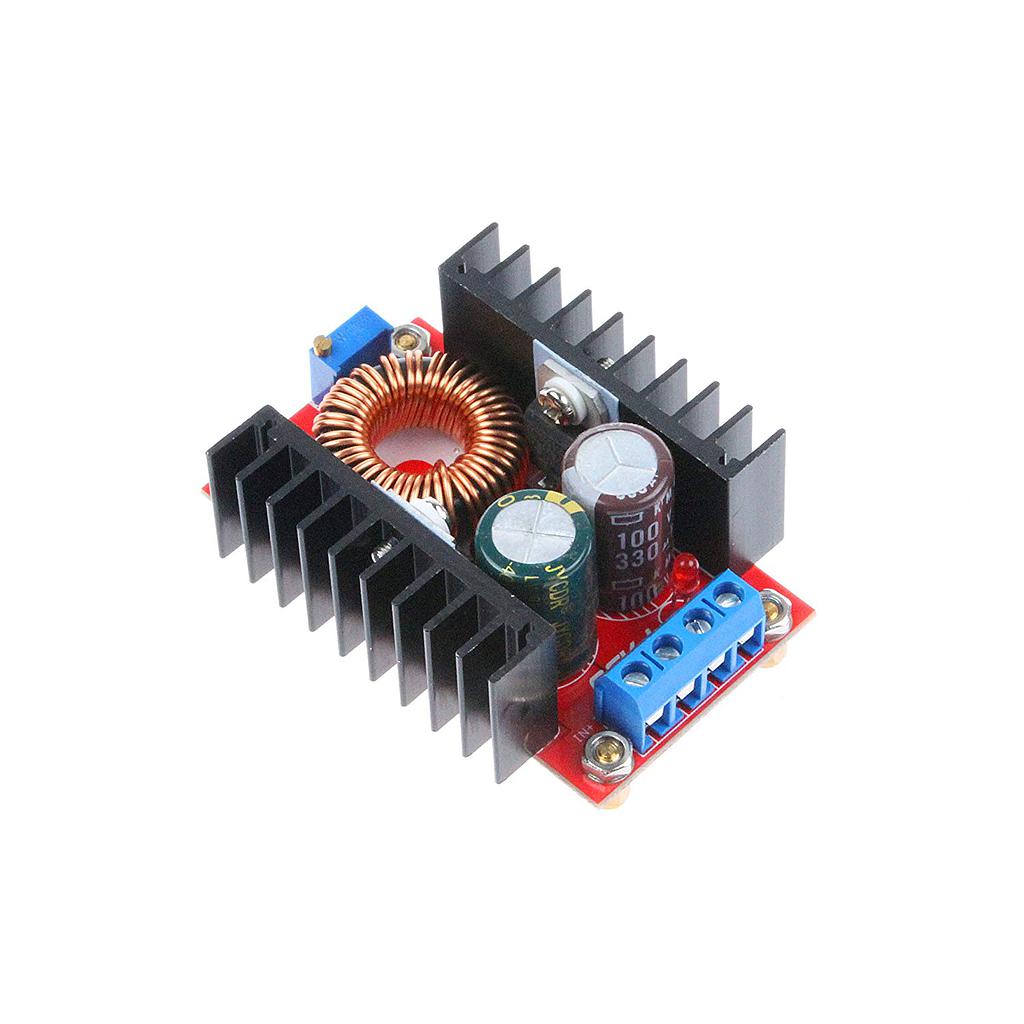
The circuit that I use is analog (no computer). The hammer strike can be controlled three ways. A mechanical stroke adjustment can be built into the design. Stroke of 1/8” to 1/2” is a good adjustment range. A higher energy hammer strike with the longer stroke might use more capacitance. Increased capacitance can also increase dwell. For on the fly hammer adjustments, the dc-dc boost converter has an output voltage adjustment pot.

By default, the circuit allows multi cycling, like a semi auto, but unless we have an auto loader mechanism, we don’t want that. So I have an electrically latched relay in the circuit so that the on/safe switch must be cycled each shot. It’s like an auto safety so that you can’t accidentally fire it multiple times.

View attachment 490354

This is priceless! Thanks a ton. I have a solenoid on the way from those guys, should land today. What is the OD of the solenoid that you use?
 
  • Like
Reactions: Bandito
This is priceless! Thanks a ton. I have a solenoid on the way from those guys, should land today. What is the OD of the solenoid that you use?
I mostly use the 0.9” diameter solenoids, though I have also used a 1” diameter.

Which one did you get? Diameter and resistance? I started with 1.5 ohm solenoids but now use the .6 ohm. The duty cycle is so low, that a low resistance solenoid will not overheat.
 
  • Like
Reactions: Bandito
I mostly use the 0.9” diameter solenoids, though I have also used a 1” diameter.

Which one did you get? Diameter and resistance? I started with 1.5 ohm solenoids but now use the .6 ohm. The duty cycle is so low, that a low resistance solenoid will not overheat.
I got 3/4" OD, in case I don't go with the solenoid hammer I have a back up system that uses a conventional spring/hammer/sear, it has a 3/4" OD so would be an easy swap.
Here's the solenoid I have coming: SOTUH01903812P - -S-15-75-26H
 
That’s a small solenoid, but it might work. But the heavier gauge (23 awg) might be better.

The 26 awg has a 14.6v 10% duty cycle. The duty cycle in a airgun is way less than that. So you can likely run it at 100v and be OK. The small DC-DC converters that I use are 60v max output, though 30v and 50v are more common. You might want even more than 60v.


Here is a 97v converter, but it will need a 3s battery:
 
Last edited:
  • Like
Reactions: Bandito
That’s a small solenoid, but it might work. But the heavier gauge (23 awg) might be better.

The 26 awg has a 14.6v 10% duty cycle. The duty cycle in a airgun is way less than that. So you can likely run it at 100v and be OK. The small DC-DC converters that I use are 60v max output, though 30v and 50v are more common. You might want even more than 60v.


Here is a 97v converter, but it will need a 3s battery:
I have the receiver set up in the mill now so I'm just going to keep chasing the hammer/solenoid bore out to 1" diameter. That way I can still use the 3/4" solenoid (sleeve), but if it's too small I can go for the 1". I am also tempted to make my own solenoid, playtime is going to get expensive if I have to keep buying them from these guys at $60 a pop!
 
  • Like
Reactions: ThomasT
I have the receiver set up in the mill now so I'm just going to keep chasing the hammer/solenoid bore out to 1" diameter. That way I can still use the 3/4" solenoid (sleeve), but if it's too small I can go for the 1". I am also tempted to make my own solenoid, playtime is going to get expensive if I have to keep buying them from these guys at $60 a pop!
I wound my own solenoid once (upper solenoid in picture). It worked but had issues because of wrong armature steel. That exercise convinced me that the Solenoid City prices were a bargain for me.

IMG_3150.jpeg
 
I wound my own solenoid once (upper solenoid in picture). It worked but had issues because of wrong armature steel. That exercise convinced me that the Solenoid City prices were a bargain for me.

View attachment 490396
I was worried about that, I may use the core from the Amazon square solenoid that I got last week. I do want to the core supported on both sides though, so I'll have a 3/16" shaft run all the way through that core/weight, then bushings.
 
You are doing exactly what I wish I was doing. I will follow this project of yours with great interest..
Thanks for sharing with us.
No problem, I'm already running rev.2 through my head, I'll share all the mistakes I've made with rev.1 so you don't have to suffer so much when it's time to start your project! Much like Scotchmo & SB327 have done for me so far with the electronics, they've been a massive help.
 
Why don't you use solenoids from AliExpress? They are "cheaper than mushrooms" there - something about $10-20 cost per one.
I don't know is it allowed to put the link for AliExpress there?
I looked at those several years ago but couldn’t find one that was compatible with this type of application. The body/plunger were correct but the winding is different. The ones I found on AliExpress with the correct body were for 12-24volts. This is a continuous duty rating. What we need is a continuous duty rating of 3-5volts. This gives us a low resistance winding which will draw enough amps and produce enough watts/amp turns when hit with a relatively high voltage (>40v) for a brief moment (ultra low duty cycle).

Linking here should be fine and thanks for the suggestion. If you see one that meets the criteria, for sure let us know. I haven’t looked there in a while and something else might be available now.

Dave
 
For example this one? Outer diameter is 25 mm, 12V. But impedance is unknown
I also looked at the Aliexpress solenoids a few years ago. Since the resistance is so high, a very high voltage (>200v) would likely be needed. That complicates the driving circuitry, and negates any $ savings on the solenoid. It’s listed as 30 ohms. Better to be in the 0.5 ohm to 1.5 ohm range..

IMG_3151.png
 
  • Like
Reactions: Bandito and sb327
Ok I have the hole for the solenoid bored out to 1" plus some clearance,
Backbore 2.jpg
so now I can start messing with the electronics & different size solenoids. First gotta clean this thing, pretty dang tacky from all the lube, my wife's out of town this weekend so I'll put it in the dishwasher:
 
I couldn't resist: while waiting for more components to come in I had a crack at rolling a solenoid. What bothers me about the off-the-shelf solenoids is the sloppy core to bore tolerance. They're obviously made that way so that they don't bind up no matter what the conditions are but I can't help feel that they will be hitting the poppet stem at a different angle every time. Could be my OCD but I prefer something with less slop so I made a spool with two fairly hefty bushings on each side then reamed the bore .381". I made a core that's half brass, half steel (1018), with a button socket head bolt leading the charge against the poppet stem. I used 4 layers of 44 windings each, 18# wire. I tried it a few times with the 18V Milwaukee battery & it hammers that valve no problem. I have no return spring & since the core passes all the way through the bore I can experiment with how far away from the poppet stem I want the hammer (so far only tried 1/2" which seems ok; at this distance the steel core is about 1/2" into the magnet before firing, which by the looks of things is how the commercial solenoids work). No more time today, hopefully tomorrow I get to shoot it a bit & check velocities, then I'll start building a circuit to drive it.
Solenoid 1.jpg


Solenoid 2.jpg
 
Fired some test groups with the solenoid that I made, all at 18V & with 10.3gr Premiers, 2000Psi in the tank. First string was with the hammer set 1/2" back from the poppet stem:
Chrono 1.jpg


I then moved the hammer back to 5/8" from the poppet stem. Fired 10 shots, 5fps spread. Happy with this:

Chrono 2.jpg