Crosman Rebuild of Crosman Model 102 - Anyone know of a good instructional video??

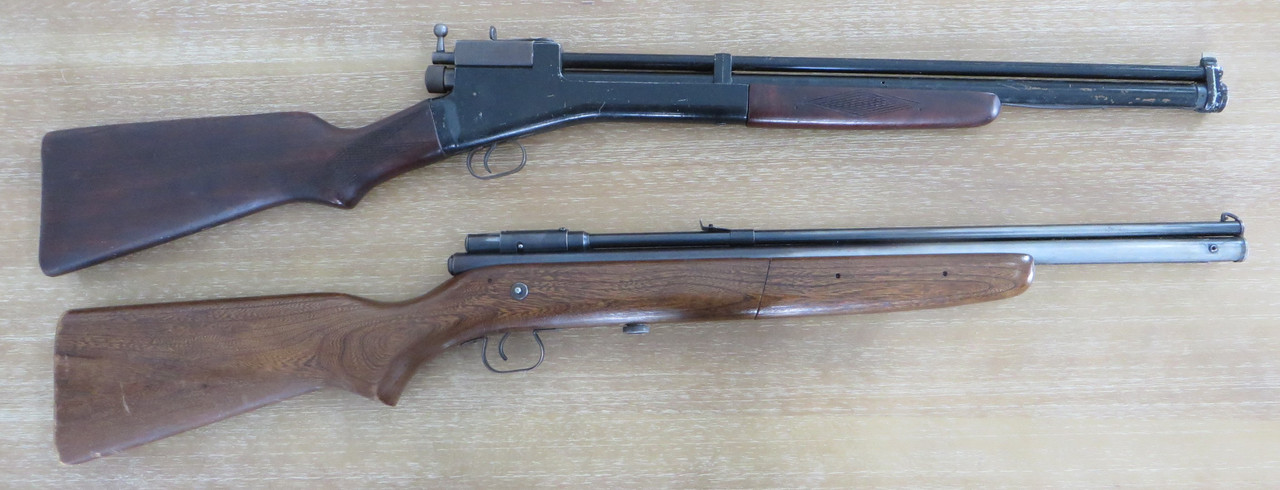
I have been discussing a couple of Crosman's on this forum lately and have determined that the Model 102 is in need of a rebuild.
The Model 140 seems to function perfectly.

I ordered a seal kit for the 102 from Baker and will have it in a week or so.

I have done a search on YouTube for a video on this project, but no luck.
However, I did find this video, but it's for the models 100 & 101 which is obviously slightly different.

Anyone have a good instruction sheet or link to a video that may be of help??
 
Last edited:
I have been discussing a couple of Crosman's on this forum lately and have determined that the Model 102 is in need of a rebuild.
The Model 140 seems to function perfectly.

I ordered a seal kit for the 102 from Baker and will have it in a week or so.

I have done a search on YouTube for a video on this project, but no luck.
However, I did find this video, but it's for the models 100 & 101 which is obviously slightly different.

Anyone have a good instruction sheet or link to a video that may be of help??

Here is a link to the Crosman Repair Manual, this is what I use when working on my older Crosman rifles. Page 1.4 shows the diagram for the upper repeater assembly, there are also written instructions for the majority of Crosman rifles in this Manuel as well: https://airgunwarriors.com/resources/library/Vintage_Crosman_Airguns_Factory_Service_Manual_all.pdf
 
  • Like
Reactions: THREEDFLYER
Here is a 102 I repaired and restored last year.

IMG_4294.jpeg


IMG_4296.jpeg


IMG_4297.jpeg


IMG_4298.jpeg


IMG_4295.jpeg


IMG_4301.jpeg


IMG_4300.jpeg


IMG_4299.jpeg


IMG_4305.jpeg


IMG_4302.jpeg


IMG_4304.jpeg


IMG_4306.jpeg


IMG_4303.jpeg


IMG_4307.jpeg


IMG_4311.jpeg


IMG_4310.jpeg


IMG_4308.jpeg


IMG_4309.jpeg


IMG_4312.jpeg
 
Nicely done!!
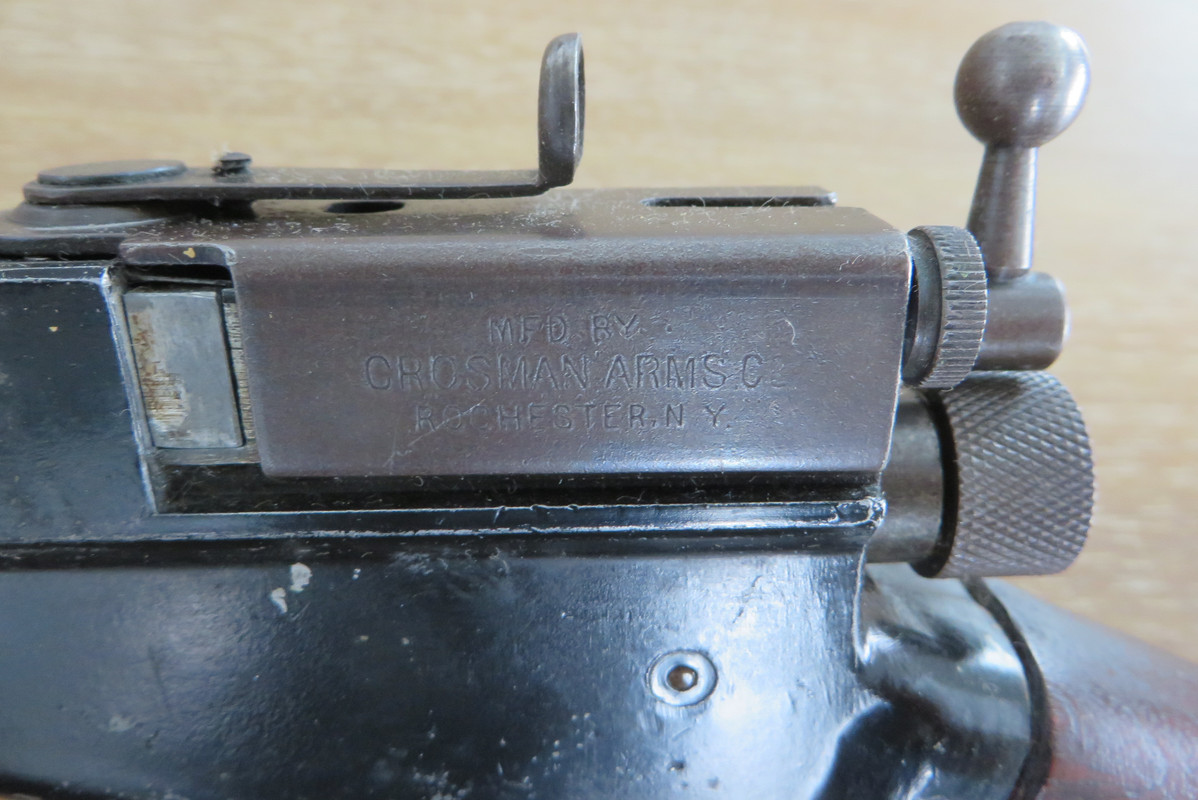
One thing I noticed.....if you look at the photo below, mine has a slightly different cover, with a thumb screw.....is mine NOT a Model 102??

It’s a 102 if it takes a .22 pellet or a 104 if it takes a .177. All my 102’ are early models with no screw and checkered stocks, not exactly sure when they added the screw to the housing cover I assume some where around late 1929 and appears to be used through at least 1941.

Also the ones with the rear screw also had a clip under the screw that helped retain the bolt. I have also found the clip is hard to come by if it is missing, but if it is it does not impact functionality of the rifle.

here is a link to a site that has pictures of various vintage air rifles including the Crosman 10X series: https://forum.vintageairgunsgallery.com/crosman-rifles/crosman-series-100/
 
Last edited:
  • Like
Reactions: Treefrog
Just received the seal kit with tool from Baker.....

Following the repair manual on page 1-A, I have removed the stock, unscrewed the hammer plug, but using the take-down tool I am not able to unscrew/remove the hammer spring lock nut.....it seems to just spin with the brass shaft that it is screwed on to. How do you keep the brass shaft from moving while unscrewing the nut???
 
Last edited:
Remove the barrel set screw from the top of the receiver.
Looking down into the hole, you should see the brass piece that is spinning.

Rotate the nut with your tool while looking down into that hole, and you will see a port appear at some point. When you see that port appear, drop a long punch or the like down into that port to hold it in position, and you should then be able to unscrew the hammer spring nut.
You may have to push in slightly with your tool to align the ports to drop your punch in.
Your punch or whatever you use should be blunt so as not to scar up the exhaust valve stem, which will also be visible in the port as a steel rod.
20240205_213114.jpg

The officially approved unofficial Crosman 100 series transfer port alignment tool for reference.....

This method is the one used to align the transfer port when tightening the valve nut down. It would appear that your valve nut is loose internally.
 
Last edited:
Thank you for the tip, will give this a try.....I figured something must be loose internally as you mentioned.....will report back when I have it loose.
No problem.
If the valve and internals are stuck and won't pop out freely when you get the valve nut loose, go in from the front with a long 1/8 dowel through the inlet valve hole to persuade the parts out the back of the tube.
Since yours is already spinning, it should come out easily.

Once you get it apart, you will be surprised how simple they really are. The only sticking point on some Crosman 100 series rifles is that the valve nut can require considerable persuasion to break free. Usually on rifles that have not seen service since new.

I like to watch Jon's videos on the 101
 
Last edited: