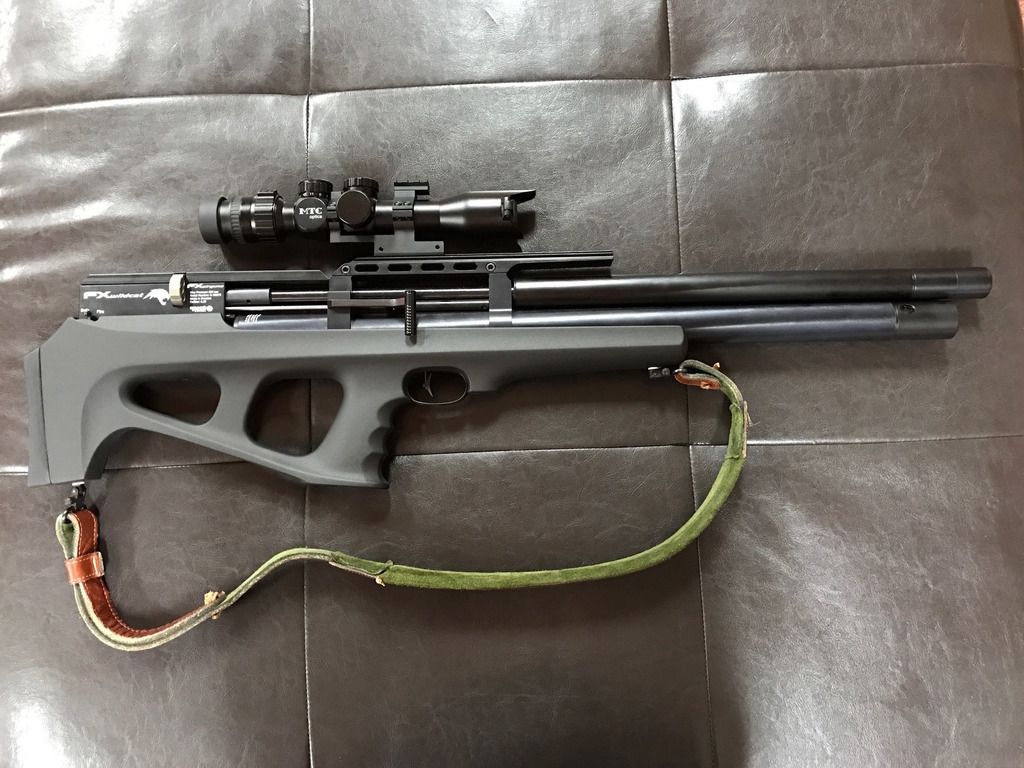
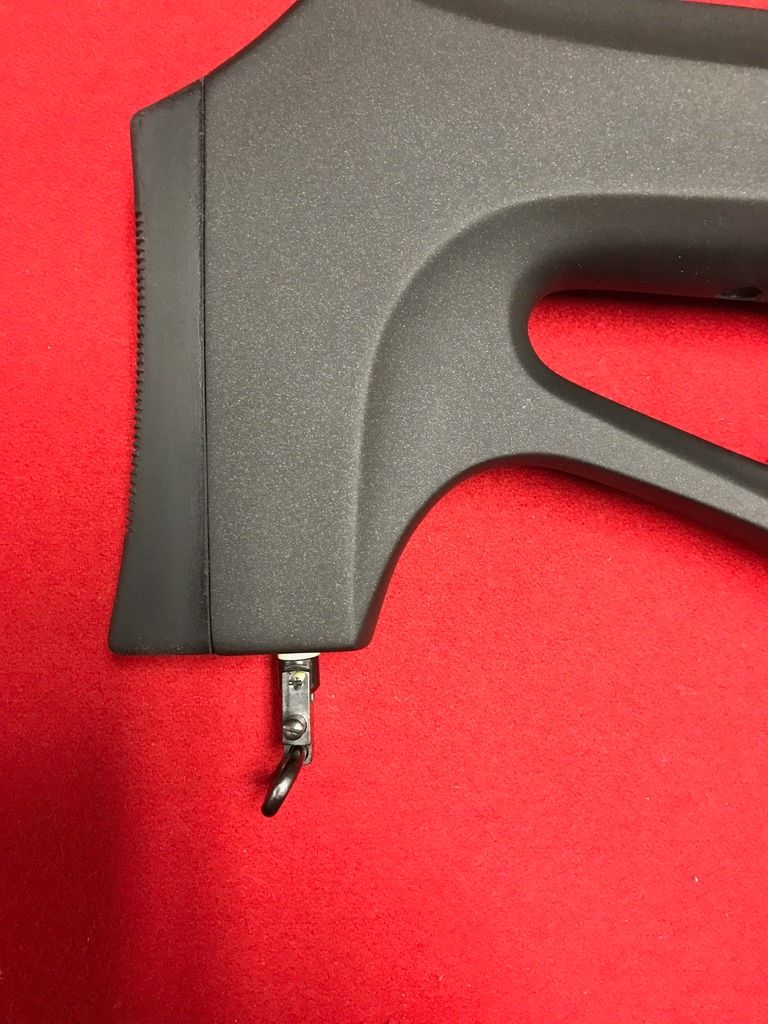
Thanks to some here on AirgunNation, especially AirgunBill, I was able to install studs in my Wildcat stock so I could use a traditional, 2-point sling. I just did it like I'd do for a wood stock. I used Uncle Mike studs: 1/2" front and 3/4" rear studs with white spacers.
1. Removed stock from action and placed stock in rubber-lined vise.
2. Marked location with very sharp wood screw point (nail point too dull and simply "slid" off stock).
3. 3/32" drill bit to make pilot hole about 1/8" deep at marks.
4. Used slightly larger, 1/8" drill to make stud hole: 1/2" for front and 3/4" rear. (As per instructions on Uncle Mike package).
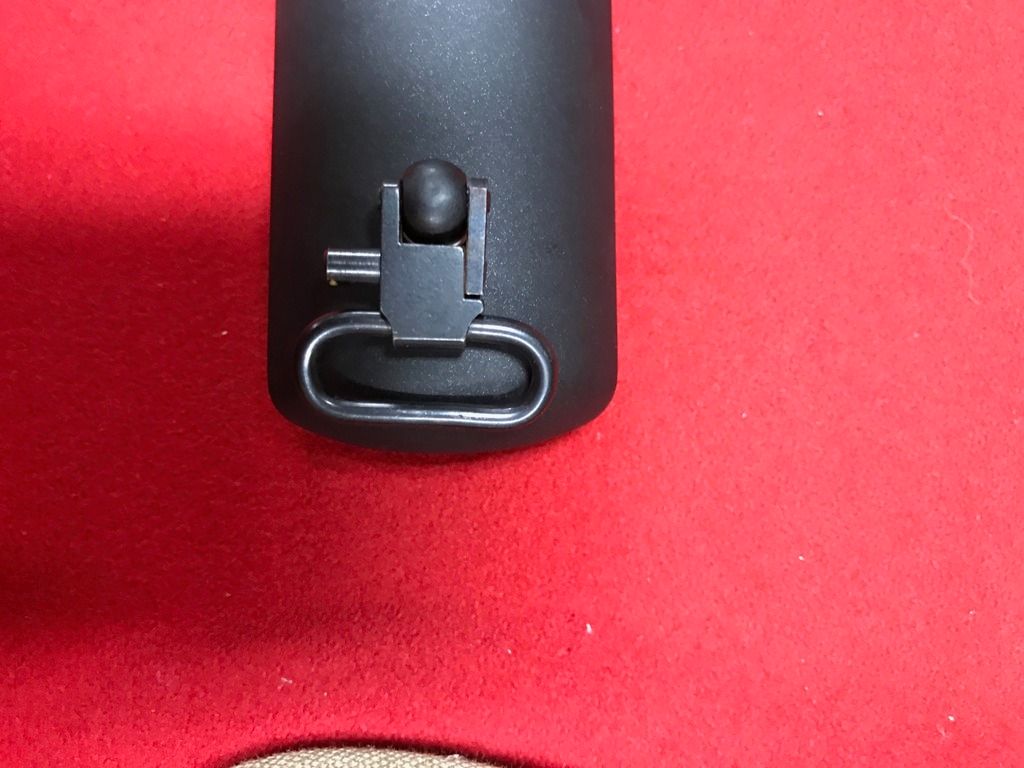
I was surprised how difficult it was to get the stud screws started in these 1/8" holes. Had to bear down using the shorter stud to keep pressure vertical. Once started I used an allen wrench through the stud hole to slowly turn. I used the suggestion by another AirGunNation poster to turn 1/2 turn, back 1/4" turn, 1/2 turn, 1/4" turn, until the studs were firmly seated.
I'm very pleased with the results! I did place the forward stud in a location where someone (not me) might want to use as one of two holes for a bipod placement.
1. Removed stock from action and placed stock in rubber-lined vise.
2. Marked location with very sharp wood screw point (nail point too dull and simply "slid" off stock).
3. 3/32" drill bit to make pilot hole about 1/8" deep at marks.
4. Used slightly larger, 1/8" drill to make stud hole: 1/2" for front and 3/4" rear. (As per instructions on Uncle Mike package).
I was surprised how difficult it was to get the stud screws started in these 1/8" holes. Had to bear down using the shorter stud to keep pressure vertical. Once started I used an allen wrench through the stud hole to slowly turn. I used the suggestion by another AirGunNation poster to turn 1/2 turn, back 1/4" turn, 1/2 turn, 1/4" turn, until the studs were firmly seated.
I'm very pleased with the results! I did place the forward stud in a location where someone (not me) might want to use as one of two holes for a bipod placement.


