First, this is NOT a process that is in any way an attempt to replace a water separator on the output side of the compressor. This is a project to show the effects of using desiccant to lower air moisture before the compressor.
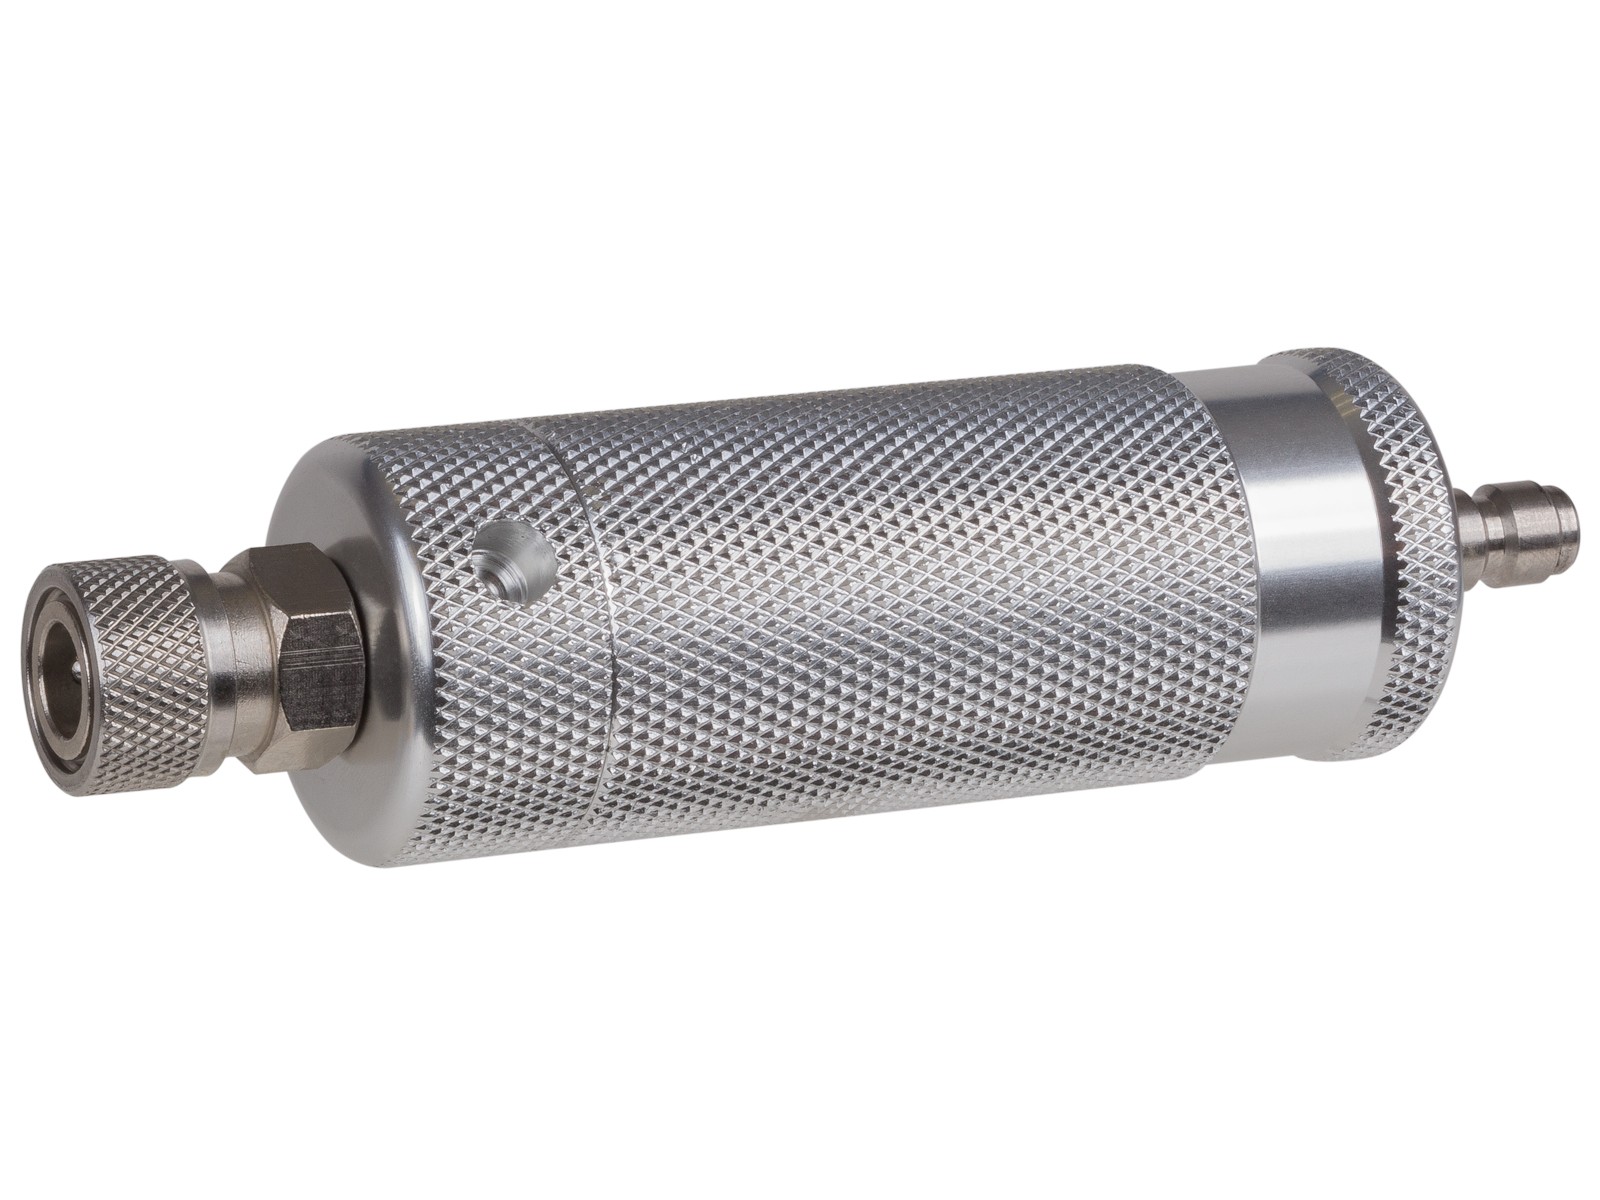
With that being said: The Tuxing is a great filter, however, it makes fill time much much longer and I ended up moving to a smaller 7" filter on the output side. I happened to see the internals on a big duel pump compressor and noticed it used the Tuxing filter internal as the main intake filter. That's a great idea so I figured out how to do it on my little GX CS1 compressor which is the smallest in the GX lineup. The Tuxing's internals make an awesome filter and the heavy outer case is not needed since it's only under the pressure of a slight vacuum from the compressor's intake.
EDIT: The video showing the humidity level dropping from 69% to 18% is 7 posts down.


The smaller GX compressors have a very basic 1/2 long conical brass filter with a 1/8 BSPP thread on it. Perfect! I can thread in a spare air line I have into the compressor. You can see the stock filter and where I screwed in a high pressure line I had laying around.

So the new line goes to the back, turns to the back left corner, does a 180 bend back to the top rear right side of the compressor. I then drilled a hole in the top of the case, and pushed the M10x1 male thread of the hose through the hole. Since all Chinese filter thread and hose male threads are M10 x 1, I inserted a nylon spacer from the hardware store and screwed the end of the Tuxing filter on. Now I can easily see the state of my filter media and easily change it out at any time.

I tested it a few minutes ago and it is a hot humid night here along the Texas gulf coast. I typically bleed the line of moisture about half way through my fill. Normally, I get water splattering from behind the bleed screw knob. Not anymore! I was almost dry. I'm pretty confident that the 7" output line filter got the rest.

With that being said: The Tuxing is a great filter, however, it makes fill time much much longer and I ended up moving to a smaller 7" filter on the output side. I happened to see the internals on a big duel pump compressor and noticed it used the Tuxing filter internal as the main intake filter. That's a great idea so I figured out how to do it on my little GX CS1 compressor which is the smallest in the GX lineup. The Tuxing's internals make an awesome filter and the heavy outer case is not needed since it's only under the pressure of a slight vacuum from the compressor's intake.
EDIT: The video showing the humidity level dropping from 69% to 18% is 7 posts down.
The smaller GX compressors have a very basic 1/2 long conical brass filter with a 1/8 BSPP thread on it. Perfect! I can thread in a spare air line I have into the compressor. You can see the stock filter and where I screwed in a high pressure line I had laying around.
So the new line goes to the back, turns to the back left corner, does a 180 bend back to the top rear right side of the compressor. I then drilled a hole in the top of the case, and pushed the M10x1 male thread of the hose through the hole. Since all Chinese filter thread and hose male threads are M10 x 1, I inserted a nylon spacer from the hardware store and screwed the end of the Tuxing filter on. Now I can easily see the state of my filter media and easily change it out at any time.
I tested it a few minutes ago and it is a hot humid night here along the Texas gulf coast. I typically bleed the line of moisture about half way through my fill. Normally, I get water splattering from behind the bleed screw knob. Not anymore! I was almost dry. I'm pretty confident that the 7" output line filter got the rest.
Last edited:


