You are using an out of date browser. It may not display this or other websites correctly.
You should upgrade or use an alternative browser.
You should upgrade or use an alternative browser.
Profile posts Latest activity Postings Featured content About
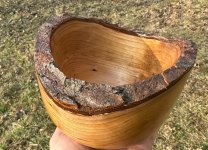
- Finished up a small bowl this weekend and documented it through the process.
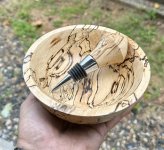
Started out with a section of spalted maple that was near too soft to turn.
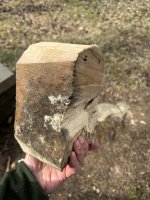
Knocked off the corners a bit on the band saw before chucking it up on the lathe and started working to smooth out the bottom a bit.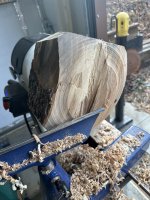
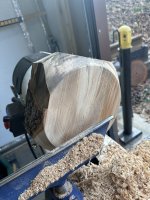
After getting the bottom flat, could start to work on the sides.
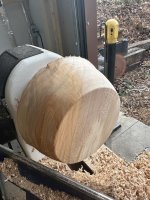
Made a tenon...
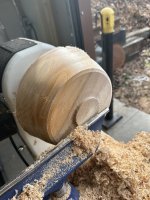
and after some clean up to resolve some tear out, turned it around and chucked in the 4 jaw to begin work on hollowing it out
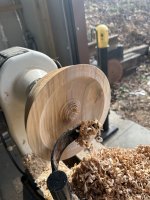
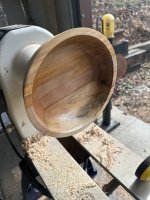
Lathered on some sanding sealer quite thick and let it cure for a bit... ended up with a fair amount of free mulch
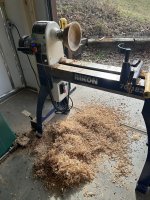
Used a parting tool to cut out a channel for an inlay...
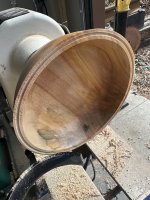
Filled with crushed abalone shells and CA glue.
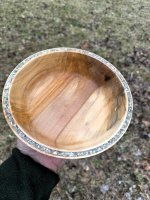
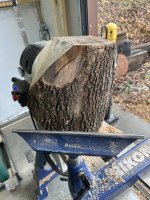
Did another one as well, but wont bore with the step by step... just the before and after. I still need to do another layer of shell in this one, so it's not completely done.
Before...
and after...
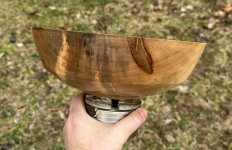
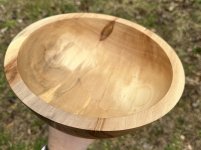
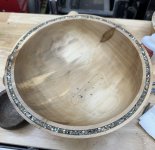
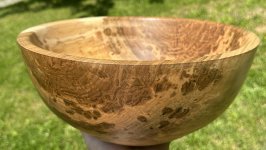
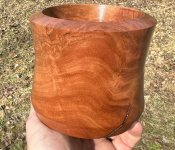
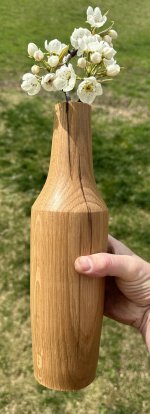
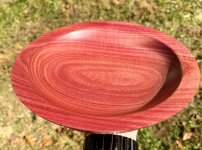
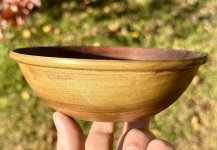
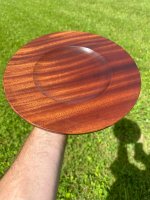
Need to work on some knives as I'm behind, but wanted to get this wood used before it got too far gone. I have two smaller bowls left from this maple and I'm done with it. This same tree ended up giving me some really nice wood. Here is a couple bowls that came from the same tree I did later last year.
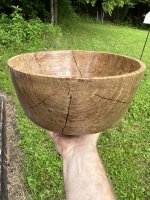
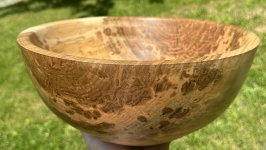
 Yeah, I saw that about a week or two ago. Pretty impressive, but on the other hand, he’s been doing it a long long time and he knows what he’s doing. Me on the other hand, i’ve been doing it just over a year, and I am still a rookie, so in my handsthat looks like a dangerous tool.
I have this really nice pieceof burl, I could do one large bowl, but there would be a lot of waste so I was trying to figure out how I could get this thing cored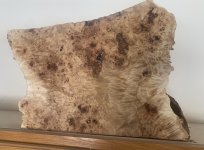
 @Mr.H Great looking piece of burl! If I may offer some advice to be taken with a grain of salt coming from another newbie... ensure your tools are sharp. I'm sure by now, you've experienced end grain tear out and what a pain that can be. Burl will have a variation of end grain in odd places due to the burling.
Here is a good example of some REALLY bad tear out I had on a piece of Eastern Cottonwood I turned today..
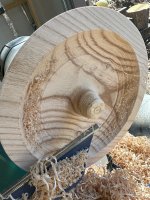
and this is after touching up my bowl gouge. Of note, though, and this did have a hand in the massive tear out... I used a pull cut to rough the sides and a push cut riding the bevel to do finish cuts.

and if you havent learned a shear scraping cut with the wings on a bowl gouge, it's like a magic eraser for most tear out. Can even oil the wood then cut to try to combat tear out.
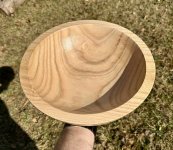
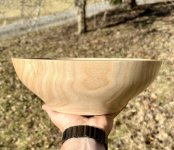
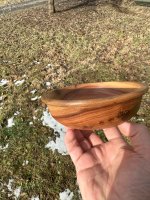
This is the finished bowl. Eastern Cottonwood was very easy to turn, very light, stinks like rotten dill pickles.... and very prone to tear out.
And it's not even that interesting looking aside from that weird belly button looking thing, but the wood was free.
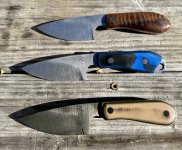
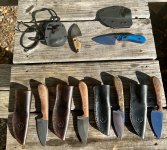
 Latest out of the shop here. Top knife is Walnut with orange G10 liners, not visible in the pic. Next is blue laminate G10 and the last was camo laminate G10, but mostly FDE showing, which is fine. I'll do a leather sheath for the walnut, black kydex for the blue and FDE kydex with a black clip for the last one.
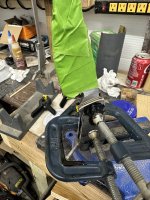
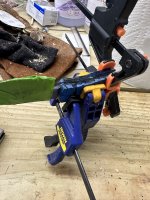
Some pics during dry fit as well as the glue up portion as well... and yes, shop is a disaster. First pic looks like the tip is burned, but was a shadow. Used a brushed/rough finish and then tumbled blades in ceramic media. The FDE knife got a coating of cold blue afterwards to finalize the more 'tactical' look. Looking back at the Walnut, I should have extended the scales a little more and did something else rather than a blunt, straight line... not much I can do about it now. Still turned out pretty. Still need to put an edge on these, as well.

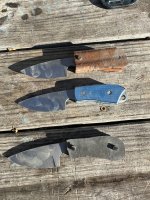
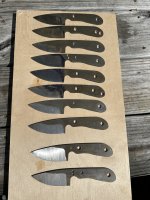
 Got rough grinding done on a new batch of knives today. I call this model the 'SW' after a friend of mine who had one like it and I loved the compact design so I made a template.
These are all roughed out for now. I will heat treat and temper back and then can finish grind and then... hand sanding before attaching scales. After curing, can finish grind the scales and hand sand those. I played around a bit with some different grinds and also different pin sizes. Two of them will get brass bolsters and a couple have lanyard holes in them.
For scales, I'll be using some G10, Cocobolo, Walnut, and will dig through my scale supplies to see what else I might use.
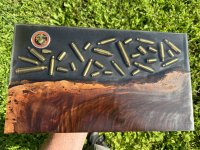
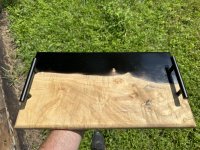
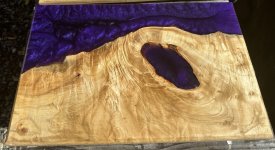
Also throwing up a serving tray I did with resin and maple and a wall plaque for a buddy of mine who is a Marine vet. Finished those last week and have another one that I'm working on. Note that on the walnut piece this was after the initial coat of oil and so that walnut sucked in quite a bit. I've since added several more coats to make the finish more uniform.
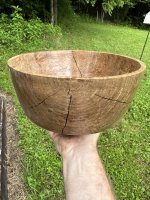
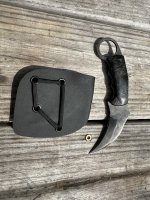
...and tossing in a pic of my last two bowls I turned. One was cracked quite a bit so filled in with resin. and finally a pic of my first, and likely last, Karambit. A complete pain to grind. Scales are carbon fiber resin with a CA glue finish. I picked carbon fiber out of my fingers for days. Never again.
 I wish i was able to beat on hot steel again like in my youth.
Even if right now Denmark is about to get its #2 knife law due to criminals using knifes often in their fight for the drug market.
Of course as we too have poor politicians, these laws will most likely have a bigger impact on law abiding citizens than the criminals, for whom 2 weeks in jail are like a holiday. @Peashooter .... we ALL have piss poor politicians who support laws that have a bigger impact on law abiding citizens than criminals. By default, criminals dont follow laws. Sad to see
@Mr.H Those are 1084. Easy to heat treat. I tend to use 1074, 1084, 1095 or 5160 for most knives I make. 5160 is easiest to come by for scrap when forging, but it's harder to forge than others. Gives a good workout! As for a lathe, I can offer advice if you are newer to wood lathes. I'm on my third upgrade in 2 years so you can learn from my mistakes. Reach out via PM and we can chat if you'd like. - Loading…
- Loading…
- Loading…
- Loading…
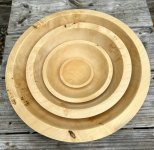
Again, not as good as a 'real' coring tool, but may be worthwhile.